代码中集成deepseekAPI执行测试

以 Deepseek 官方API的集成为例,完成在代码中通过调用大模型,实现测试用例自动生成,并完成执行的实践

在之前的文章

用deepseek+vscode自动完成测试脚本

我们介绍了vscode的AI插件,可以帮助我们完成自动化测试用例的生成。

而目前Deepseek 官方的API其实也重新开放,对于我们深度利用Deepseek等大模型打造贴合实际工作应用的场景,提供了更多可能性。

下面我们就以 Deepseek 官方API的集成为例,完成在代码中通过调用大模型,实现测试用例自动生成,并完成执行的实践。

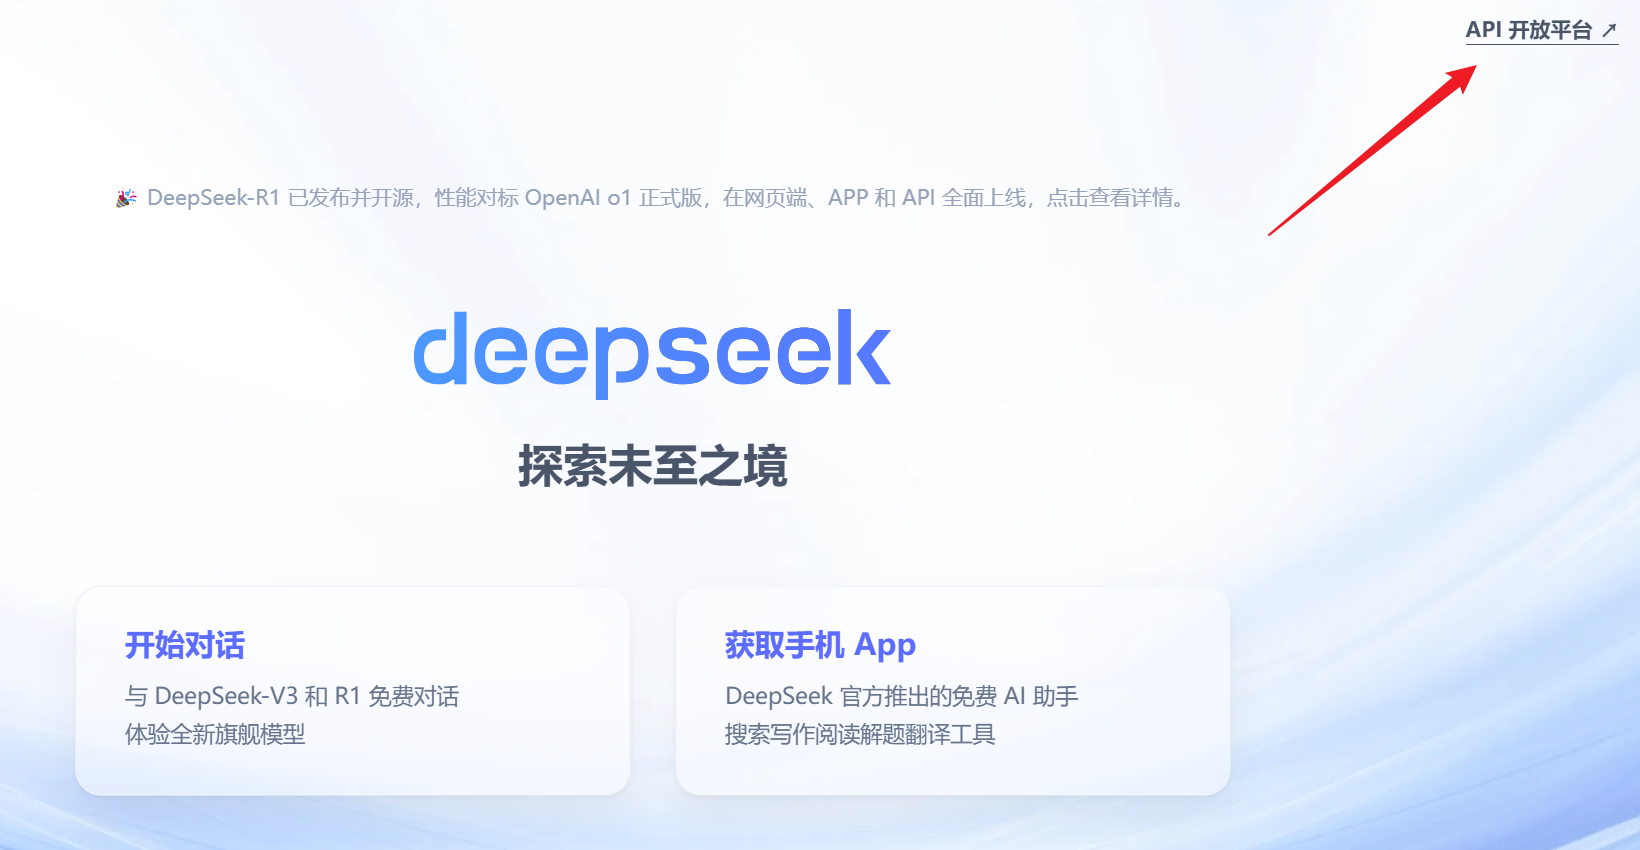
首先从Deepseek官网进入它的API开放平台

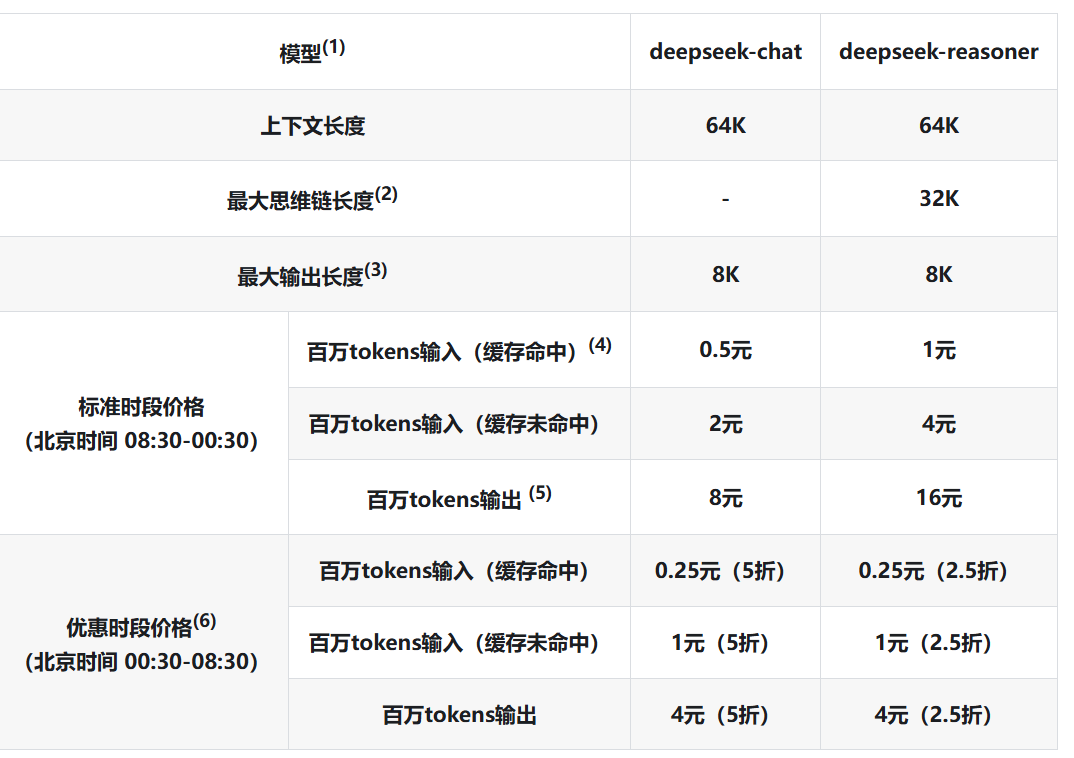
进入以后,申请一个APIkey,目前Deepseek的定价还是比较低的,而且特定时段还有较大折扣

有了这个API Key以后,我们就可以在代码中进行调用了

目前Deepseek API 是兼容了openai 的 api 接口

通过以下代码,结合Python标准库inspect,我们可以直接让deepseek针对我们的被测代码,实现用例的生成。

当然我们也可以将对应的需求文本传输给deepseek,原理类似

 1
 2
 3
 4
 5
 6
 7
 8
 9
10
11
12
13
14
15
16
17
18
19
20
21
22
23
24
25
26
27
28
29
30
31
32
33
34
35
36
37
38
39
40
41
42
43
44
import inspect
from openai import OpenAI

# 引入deepseek api
client = OpenAI(api_key="<your_deepseek_api_key>", base_url="https://api.deepseek.com")


# 被测函数,计算BMI
def calculate_bmi(weight, height):
    if height <= 0 or weight <= 0:
        raise ValueError("身高、体重必须大于0")
    bmi = weight / (height ** 2)
    if bmi < 18.5:
        return "竹竿!"
    elif 18.5 <= bmi < 24.9:
        return "正常人"
    elif 25 <= bmi < 29.9:
        return "壮士!"
    else:
        return "肥宅!"

# 通过inspect获取函数源代码
function_code = inspect.getsource(calculate_bmi)

# 根据获取的代码,定义提示词
the_prompt = f"""
请针对以下代码生成基于pytest框架的测试用例:{function_code}
尽可能使用参数化测试,包含各种异常场景

"""

# 调用deepseek api 使用V3模型,获取返回
response = client.chat.completions.create(
    model="deepseek-chat",
    messages=[
        {"role": "system", "content": "You are a python testing assistant"},
        {"role": "user", "content": the_prompt},
    ],
    max_tokens=1024,  
	temperature=0.7
    stream=False
)

print(response.choices[0].message.content)

通过以上代码,我们可以获取deepseek V3 返回的结果:

 1
 2
 3
 4
 5
 6
 7
 8
 9
10
11
12
13
14
15
16
17
18
19
20
21
22
23
24
25
26
27
28
29
30
31
32
33
34
35
36
37
38
39
40
41
42
43
44
45
46
47
48
49
50

为了测试 `calculate_bmi` 函数,我们可以使用 `pytest` 框架,并结合 `pytest.mark.parametrize` 来实现参数化测试。以下是一个完整的测试用例,涵盖了正常情况和异常情况。

 ```python
import pytest

# 导入要测试的函数
from your_module import calculate_bmi

# 正常情况的测试用例
@pytest.mark.parametrize("weight, height, expected", [
    (60, 1.75, "正常人"),  # 正常BMI
    (50, 1.75, "竹竿!"),  # 低BMI
    (80, 1.75, "壮士!"),  # 高BMI
    (100, 1.75, "肥宅!"),  # 超高BMI
])
def test_calculate_bmi_normal(weight, height, expected):
    assert calculate_bmi(weight, height) == expected

# 异常情况的测试用例
@pytest.mark.parametrize("weight, height, expected_exception", [
    (0, 1.75, ValueError),  # 体重为0
    (60, 0, ValueError),    # 身高为0
    (-10, 1.75, ValueError), # 体重为负数
    (60, -1.75, ValueError), # 身高为负数
])
def test_calculate_bmi_exceptions(weight, height, expected_exception):
    with pytest.raises(expected_exception):
        calculate_bmi(weight, height)
` ``

### 解释:
1. **正常情况测试**:
   - 使用 `pytest.mark.parametrize` 来测试不同的体重和身高组合,验证函数返回的BMI分类是否正确。
   - 测试用例包括正常BMI、低BMI、高BMI和超高BMI的情况。

2. **异常情况测试**   - 测试函数在输入无效值(如体重或身高为0或负数)时是否抛出 `ValueError` 异常。
   - 使用 `pytest.raises` 来捕获预期的异常。

### 运行测试:
确保你已经安装了 `pytest`,然后在终端中运行以下命令来执行测试:

```bash
pytest test_bmi.py
` ``

### 注意:
- `your_module` 是包含 `calculate_bmi` 函数的模块名,请根据实际情况替换。
- 测试文件通常命名为 `test_*.py``*_test.py`,以便 `pytest` 自动识别并运行测试。

而为了进一步直接利用生成的结果,我们其实可以针对这里的输出,提取出markdown格式文本中的代码,写入一个测试文件,然后调用执行即可

具体代码如下,利用正则表达式(正则表达式详细介绍,可参见前文 搞定正则表达式,告别新手村!)提取代码部分

 1
 2
 3
 4
 5
 6
 7
 8
 9
10
11
12
13
14
15
16
17
18
19
20
21
22
23
24
25
26
27
# 用户配置  
run_tests = True  # 配置是否运行测试  
  
# 如果需要运行测试,则将测试用例写入文件并执行  
if run_tests:  
    # 创建测试文件  
    test_file_name = "test_calculate_bmi.py"  
    with open(test_file_name, "w",encoding="utf-8") as test_file:  
        test_file.write(f"import pytest\n\n")  
        test_file.write(f"from ai_test import calculate_bmi\n\n")  
  
        pattern = r'```python([\s\S]*?)```\n'  
        test_code = re.findall(pattern, test_cases, re.DOTALL)  
        test_file.write(test_code[0])  
  
  
    # 使用pytest执行测试  
    result = subprocess.run(["pytest", test_file_name], capture_output=True, text=True)  
  
    # 输出测试结果  
    print("测试结果:")  
    print(result.stdout)  
    print("错误信息:")  
    print(result.stderr)  
  
    # 可选:删除测试文件  
    # os.remove(test_file_name)

通过这种方式,我们就完成了通过deepseek自动生成用例并立即执行,输出结果的尝试。

当然,案例比较简单,只是一个通过AI全自动完成单元测试的初步试验,具体应用还须更进一步地深入探索!

使用 Hugo 构建
主题 StackJimmy 设计