前言
PyTest 是目前自动化测试领域使用非常广泛的一个测试框架,基于Python脚本的自动化,通常都会结合该框架完成测试脚本的管理和运行调度。
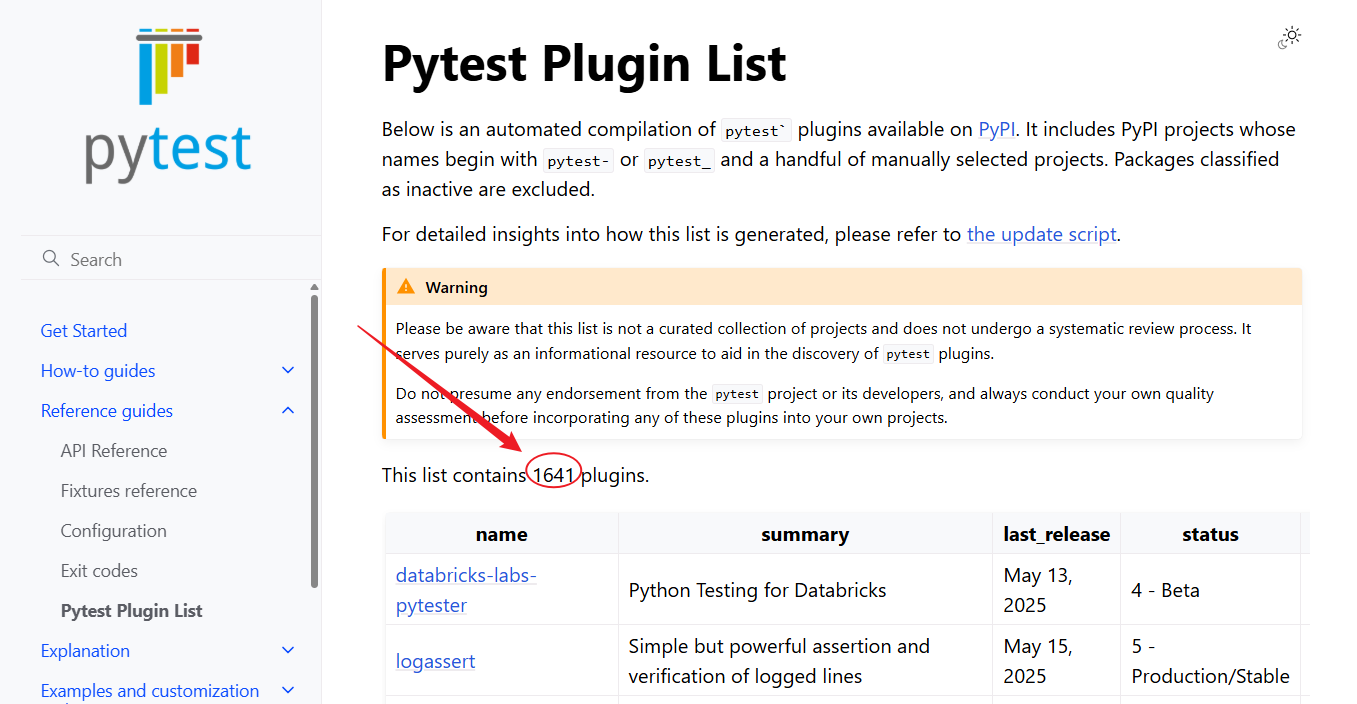
而Pytest之所以强大,除了前面我们介绍过它的Fixture夹具功能,还有一个很重要的方面就是它强大的生态,也就是它非常强大的插件支持。仅官方显示的插件清单已有1600多个
而实际工作中,除了通过Pytest丰富的插件生态完成增强外,对于我们的一些个性化需求,我们要自行完成插件开发其实也非常方便,当然这也是Pytest 插件生态能如此繁荣的基础。
本文我们就结合一个基本案例介绍下如何完成Pytest的本地插件开发。
Pytest 插件的实现原理
Pytest的插件机制,其实主要是通过它提供的钩子函数(hook)和命令行扩展来实现的。
钩子函数
钩子函数是 Pytest 提供的一类特殊函数,允许插件在特定的测试事件发生时执行自定义代码。常用的钩子函数包括如:
pytest_addoption: 用于添加命令行选项。pytest_configure: 在测试运行之前进行配置。pytest_runtest_setup: 在每个测试用例执行之前调用。pytest_runtest_teardown: 在每个测试用例执行之后调用。pytest_sessionfinish: 在测试会话结束时调用。
命令行选项
通过 pytest_addoption 钩子,插件可以定义自定义的命令行选项。这使得用户在运行测试时可以控制插件的行为。例如,可以添加一个选项来启用或禁用某些功能。
配置对象
在钩子函数中,插件可以访问 Pytest 的配置对象(config),该对象包含命令行选项、测试上下文和其他配置信息。通过配置对象,插件可以获取用户输入的选项并相应地调整其行为。
数据存储
插件可以在钩子函数中使用配置对象来存储和管理数据。例如,可以在 pytest_configure 中初始化一个列表,在每个测试用例执行后将数据存储到这个列表中,最终在 pytest_sessionfinish 中输出结果。
hookimpl 装饰器
Pytest中,钩子函数可以使用 @pytest.hookimpl 装饰器来控制钩子的执行顺序和行为。主要参数包括:
tryfirst: 如果设置为 True,该钩子将在其他同类钩子之前运行。通常在需要优先处理特定逻辑时使用。trylast: 与 tryfirst 相反,设置为 True 则该钩子将在其他同类钩子之后运行。
通过这种方式,插件可以精确控制在测试执行过程中的各个阶段插入自定义逻辑。
实操案例
本文我们将开发一个本地的Pytest 插件,用来记录每个测试用例的执行时间,并在测试结束后提供汇总统计信息。
环境准备
创建一个新的目录用于你的插件:
1
2
| mkdir pytest_timing_plugin
cd pytest_timing_plugin
|
插件实现代码
在插件目录中,创建一个名为 pytest_timing_plugin.py 的文件:
 1
 2
 3
 4
 5
 6
 7
 8
 9
10
11
12
13
14
15
16
17
18
19
20
21
22
23
24
25
26
27
28
29
30
31
32
33
| # pytest_timing_plugin.py
import pytest
import time
def pytest_addoption(parser):
parser.addoption("--timing", action="store_true", help="Enable timing report")
@pytest.hookimpl(tryfirst=True)
def pytest_configure(config):
if config.getoption("timing"):
config._timing_data = []
config._total_duration = 0.0
@pytest.hookimpl(tryfirst=True)
def pytest_runtest_setup(item):
if item.config.getoption("timing"):
item.start_time = time.time()
@pytest.hookimpl(tryfirst=True)
def pytest_runtest_teardown(item):
if item.config.getoption("timing"):
duration = time.time() - item.start_time
item.config._timing_data.append((item.nodeid, duration))
item.config._total_duration += duration
@pytest.hookimpl(tryfirst=True)
def pytest_sessionfinish(session, exitstatus):
if session.config.getoption("timing"):
print("\nTiming Report:")
for test_id, duration in session.config._timing_data:
print(f"{test_id}: {duration:.4f} seconds")
print(f"Total Duration: {session.config._total_duration:.4f} seconds")
|
pytest_addoption: 添加 --timing 选项来启用时间记录。pytest_runtest_setup: 在每个测试开始时记录开始时间。pytest_runtest_teardown: 在每个测试结束时计算并记录持续时间,并累加到总持续时间。pytest_sessionfinish: 在测试会话结束时打印每个测试的执行时间报告以及总执行时间。
准备测试文件
在相同目录下,创建一个测试文件 test_sample.py:
 1
 2
 3
 4
 5
 6
 7
 8
 9
10
11
12
13
14
15
| # test_sample.py
import time
def test_example_1():
time.sleep(1)
assert True
def test_example_2():
time.sleep(2)
assert True
def test_example_3():
time.sleep(1.5)
assert True
|
打包插件
如果我们希望将插件分享给其他人,可以将其进行打包。创建一个 setup.py 文件:
 1
 2
 3
 4
 5
 6
 7
 8
 9
10
11
12
13
14
15
| # setup.py
from setuptools import setup
setup(
name='pytest-timing-plugin',
version='0.1',
description='A pytest plugin to measure and report test execution time',
py_modules=['pytest_timing_plugin'],
entry_points={
'pytest11': [
'timing_plugin = pytest_timing_plugin',
],
},
)
|
在插件目录下,运行:
即在本地Pytest环境中包含了我们刚才开发的插件了。
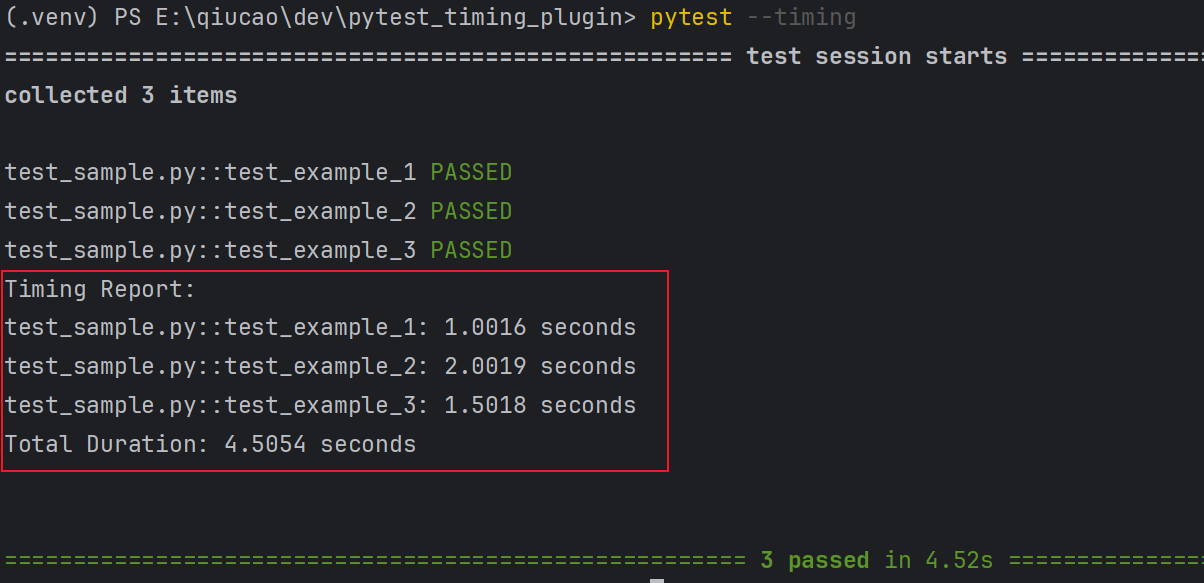
运行测试
使用 pytest 命令运行测试,同时传递自定义选项:
运行结果:
发布插件
而如果我们希望在更大范围,公开发布我们开发的插件,可以发布到 PyPI 上,得到更广泛传播和应用。
发布准备
安装相关发布工具:
1
| pip install setuptools twine
|
setuptools: 用于打包 Python 项目twine: 用于上传包到 PyPI
并将代码上传到开源平台如Github
准备setup.py
补充内容如下,包含源码项目:
 1
 2
 3
 4
 5
 6
 7
 8
 9
10
11
12
13
14
15
16
17
18
19
20
21
22
23
| # setup.py
from setuptools import setup
setup(
name='pytest-timing-plugin',
version='0.5', # 更新版本号
description='A pytest plugin to measure and report test execution time',
py_modules=['pytest_timing_plugin'],
entry_points={
'pytest11': [
'timing_plugin = pytest_timing_plugin',
],
},
author='城下秋草',
author_email='your.email@example.com',
url='https://github.com/chengxiaqiucao/pytest-timing-plugin',
classifiers=[
'Programming Language :: Python :: 3',
'Framework :: Pytest',
'License :: OSI Approved :: MIT License',
],
)
|
创建 README
创建一个 README.md 文件,描述插件的功能和用法。
构建分发包
在插件目录下,运行以下命令以生成分发包:
1
| python setup.py sdist bdist_wheel
|
这会在 dist 目录中生成 .tar.gz 和 .whl 文件。
发布到 PyPI
使用 twine 上传包到 PyPI。首先,当然我们首先需要在 PyPI 拥有一个账户。
然后,运行以下命令:
1
| python -m twine upload dist/*
|
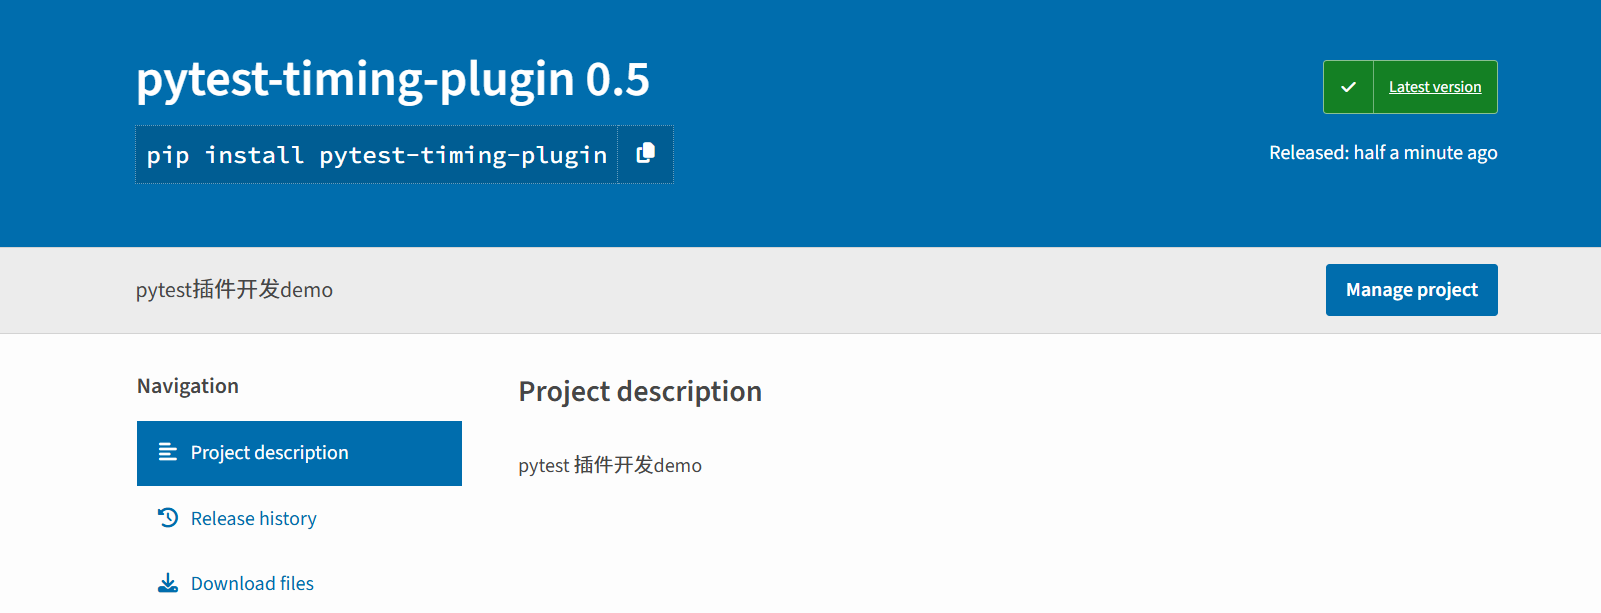
按要求输入PyPI 的API Token,完成上传
完成后 PyPI 官网即可查询到该插件
验证安装
上传成功后,可以通过以下命令在其他环境中安装插件:
1
| pip install pytest-timing-plugin
|
更新插件
如果需要更新插件,只需在 setup.py 中更新版本号,重新生成分发包,然后再次使用 twine 上传即可。
以上就是关于 Pytest 插件开发的实际案例分享
