We all know that DeepSeek is a text model and has no ability to generate images. Meanwhile, the various online image-generation AIs are either paid or subject to quota limits. Here I would like to share with you a completely free AI image-generation trick using a locally deployed DeepSeek.
The AI Image Generation API
DeepSeek itself certainly cannot generate images at present, but GitHub, that treasure trove, is naturally full of surprises. The image-generation tool introduced in this article comes from a German AI startup and supports text-to-image, text-to-audio, and other functions.
Introduction to pollinations.ai
This project supports image generation through a basic Restful API interface.
Open-source project address:
https://github.com/pollinations/pollinations
Official website:
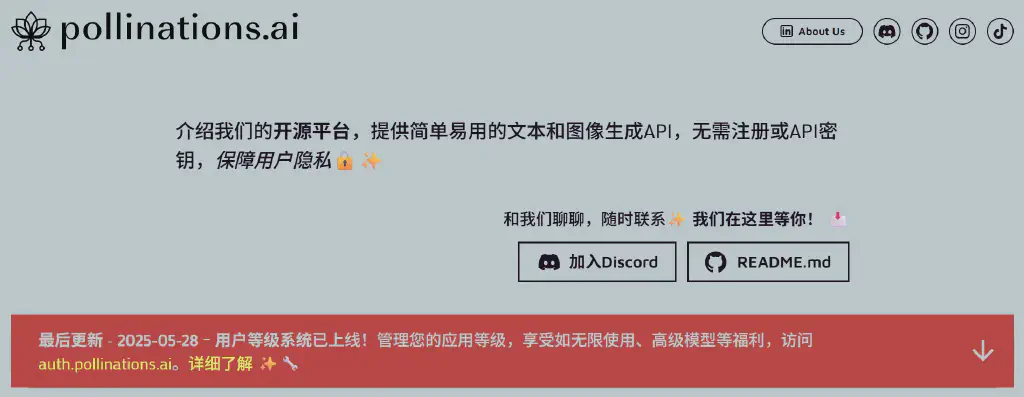
The official website may be plain, but it requires no registration or keys, is open source and free—simply wonderful.
API Definition
The API for generating images is the most basic get method:
| |
Parameters supported by the API:
| Parameter | Required | Description | Default |
|---|---|---|---|
prompt | Yes | Image generation prompt | |
model | No | Image generation model used | flux |
seed | No | Random seed | |
width | No | Image width (pixels) | 1024 |
height | No | Image height (pixels) | 1024 |
nologo | No | Whether to keep the pollinations logo | false |
private | No | Whether to make the generated image public | false |
enhance | No | Whether to use an LLM to enhance the prompt | false |
safe | No | Adult content | false |
transparent | No | Transparent background (only effective for the gptimage model). | false |
List of supported models:
flux(base model)flux-pro(enhanced effect)flux-realism(realistic style)flux-anime(anime style)flux-3d(3D style)flux-cablyai(unknown)turbo(fast generation)
The http get method can actually be requested and rendered directly through html, which gives us the opportunity to complete image generation based on DeepSeek. In other words, we can define rules that let DeepSeek generate the required prompt and present the image generated by the pollinations api in html according to the HTML format.
Local DeepSeek and cherry studio Configuration
The method of deploying DeepSeek locally via Ollama and interacting with it through cherry studio was described in detail in a previous article [], so I will not repeat it here.
After running the DeepSeek model locally, for example deepseek-r1:14b, open cherry studio, add a role such as Image Generation Assistant, and set its system prompt to define the relevant rules (see the end of the article for the specific prompt).
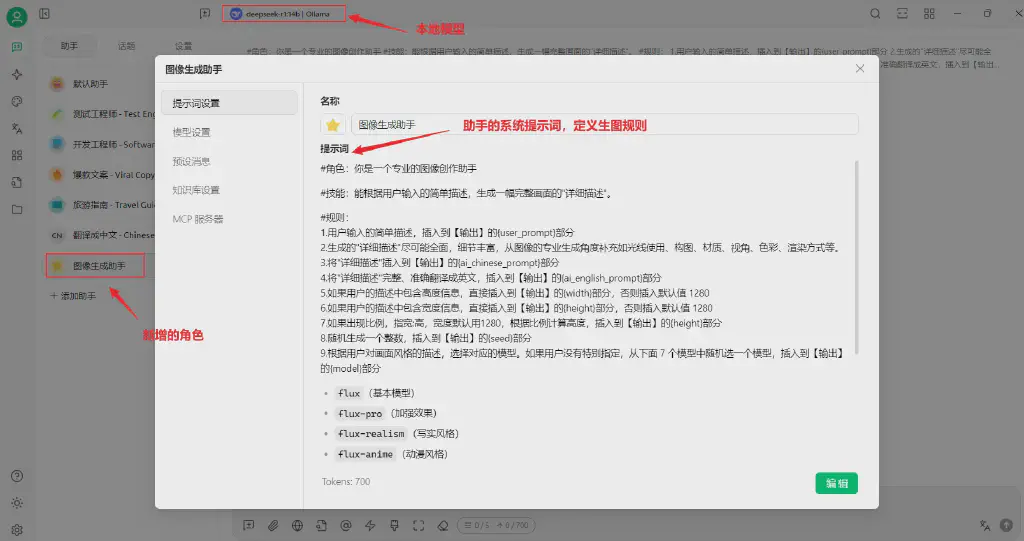
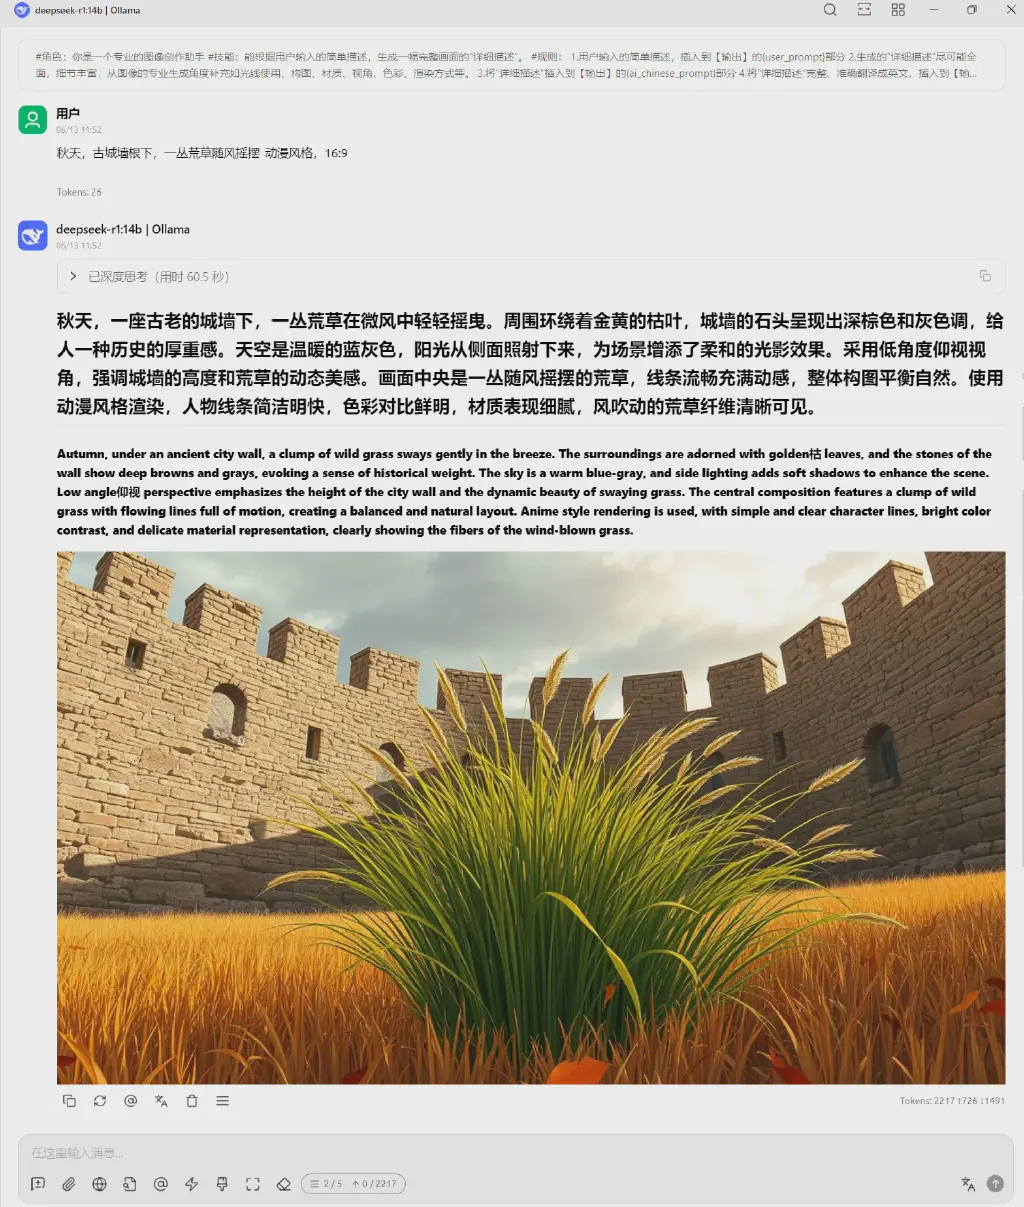
Next, let’s test it by entering the following in cherry studio:
| |
After some thinking, DeepSeek successfully generated a Picture of Autumn Grass Beneath the City Wall.
Give it a try, everyone~~
Appendix:
Prompt rule-setting template:
| |