Although I’ve always had the habit of writing and recording, my articles have been quite scattered. So I decided to create my own static blog. I’ve known for a while that Github allows publishing static pages with a github.io domain through Github Pages. Currently, my preferred writing tool is Obsidian, so my requirement was to be able to conveniently publish to Github after writing articles in Obsidian.
So I got to work, and after more than two days of exploration, I finally set up this blog to my satisfaction. Here I’m recording the implementation process for future reference.
Result:

Hugo Static Page Framework
What is Hugo?
Hugo is a static website generation framework written in Go language. It features good performance, is fast and easy to use, and highly configurable. It can quickly generate a completely HTML-based website based on Markdown format documents. It’s a powerful tool for generating blog sites.
Installation
Hugo supports multiple installation methods. I installed it on a Windows system using the winget package manager:
| |
After installation, check the version information:

After completing the installation, you can use the hugo command to generate our blog site:
| |
This will automatically generate a structure for our website:
-archetypes
-assets
-content
-data
-i18n
-layouts
-static
-themes
-hugo.toml
The content directory is where we store our current articles. The theme directory contains themes that can be applied to the website. The assets directory can include resources that need to be referenced. The layout directory contains the structure for rendering the website.
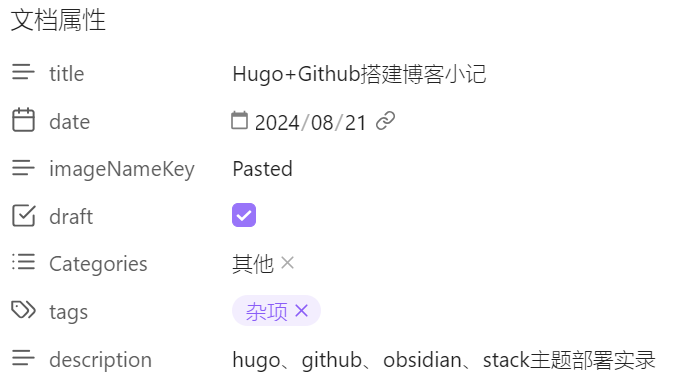
The archetypes directory defines some default metadata information (frontMatter) for pages, usually placed in default.md. Hugo will automatically add this metadata when generating new pages and generate pages based on the configuration during rendering.
My configuration is as follows:
| |
When a markdown document is formally generated, such as this article, it appears in Obsidian as document property information:
Stack Theme
After generating the website, we can choose a theme we like from the rich templates on the Hugo official website. Here I’m using the Stack theme. Clone the theme from GitHub to the Theme directory of the generated website:
git clone https://github.com/CaiJimmy/hugo-theme-stack themes/stack
Then, following its official example, include page, post directories, and the homepage index.md file in the content directory.
For specific configuration information, refer to the hugo.yaml in the Stack example site, which mainly contains configuration information for various site style organizations. I won’t go into detail here.
Creating Articles
Because we often need to reference images when creating articles, to facilitate direct referencing by relative paths in the document, we can use the following method to create articles. Instead of generating pages directly, we generate article directories and create them using index.md within the directory:
| |
Complete the writing of article content in index.md.
Generating Example Site
After completing site configuration and necessary materials and article writing, you can execute the following command for local preview:
| |
buildDrafts will render articles marked with draft=true as well.
After execution, the following information is displayed:
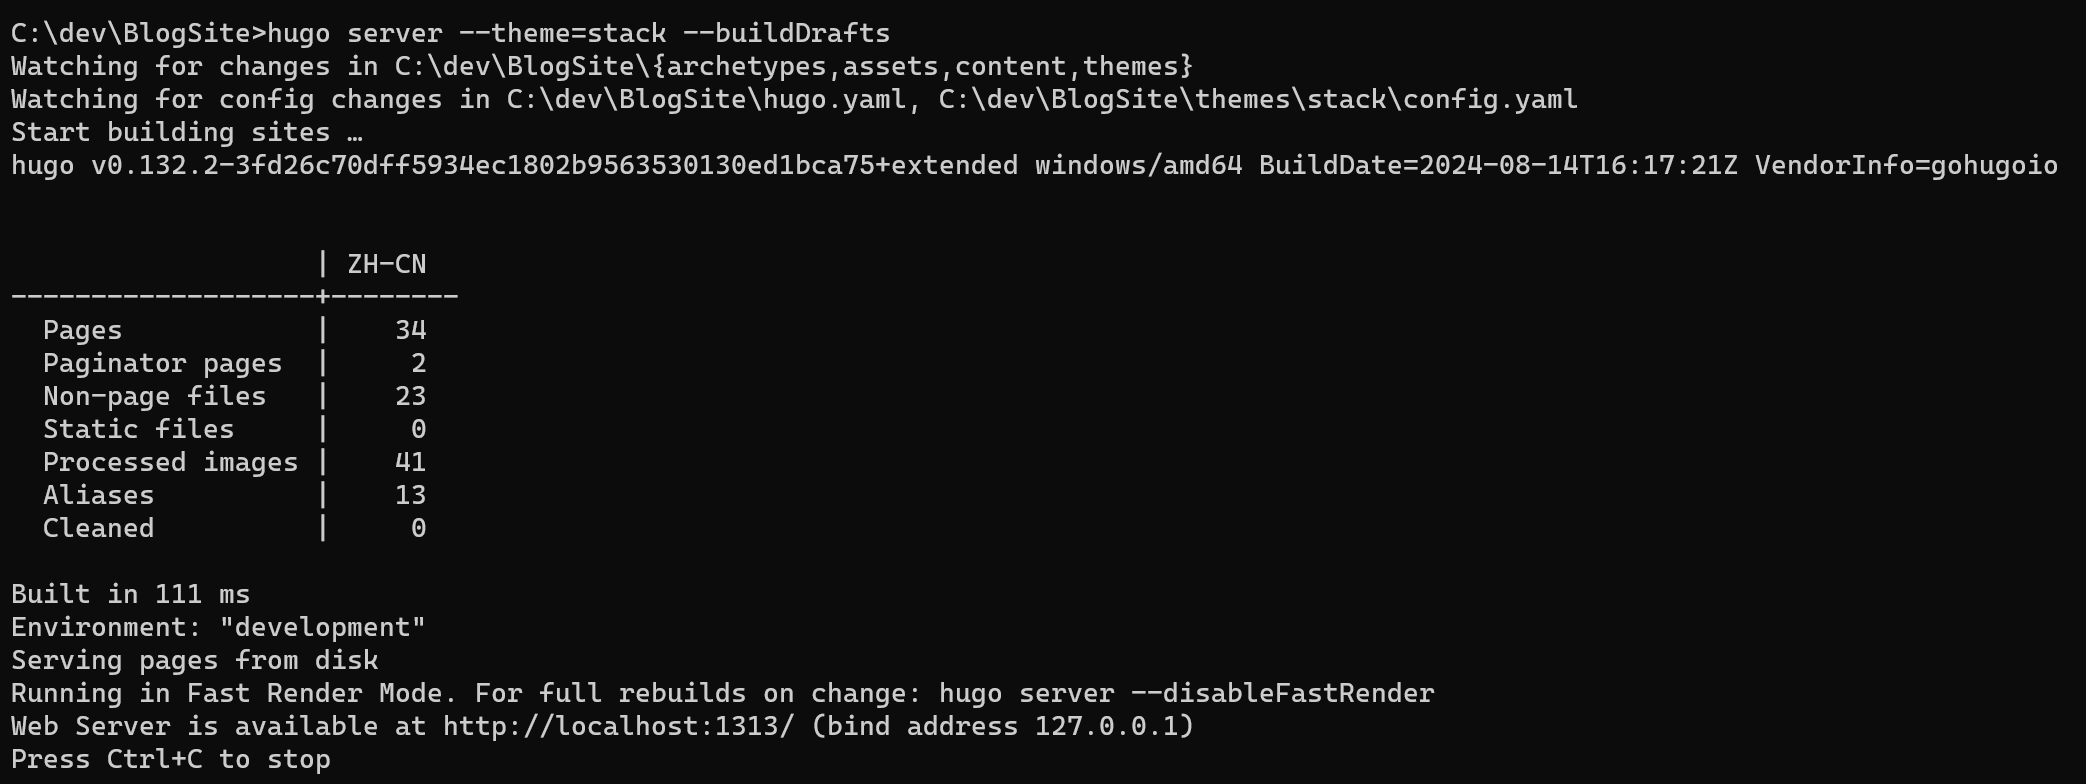
Now you can preview the current page status from http://localhost:1313:

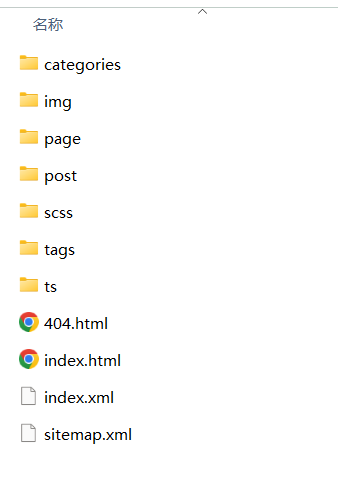
If there are no issues, you can use the command to formally generate the site:
| |
This will generate the static site content we need in the public directory of the site:
Publishing to Github Page
Github Repository
After completing local debugging, we want to publish our website to Github. First, of course, you need to have your own Github account.
Then create a page repo for your account, such as chengxiaqiucao.github.io:
| |
Through the above commands, the site content in public is pushed to the Github page repository.
Repository Configuration
To publish this page, configure the following on Github:

This way, each time new content is pushed to the repository, it will trigger a build.
Now let’s visit https://chengxiaqiucao.github.io/ to see the results.
Obsidian Settings
Then, when writing articles with Obsidian, to facilitate image pasting, we need to configure the storage location for image attachments:
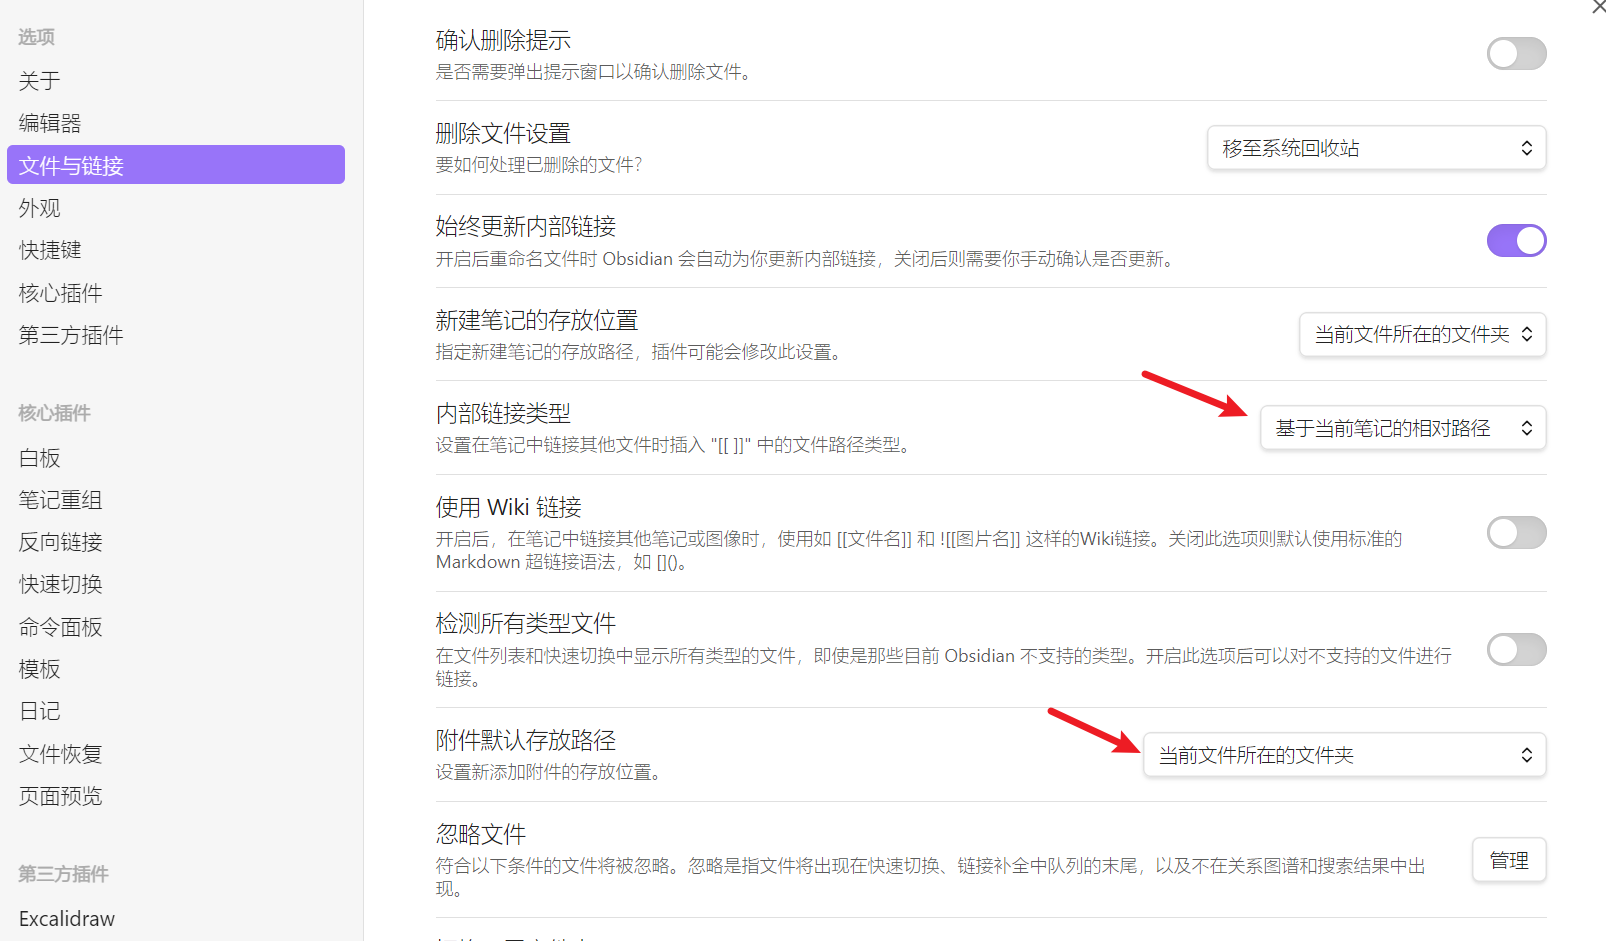 There’s also a pitfall here: when Obsidian pastes images, it automatically generates a filename like
 pasted image XXXXXX.png.
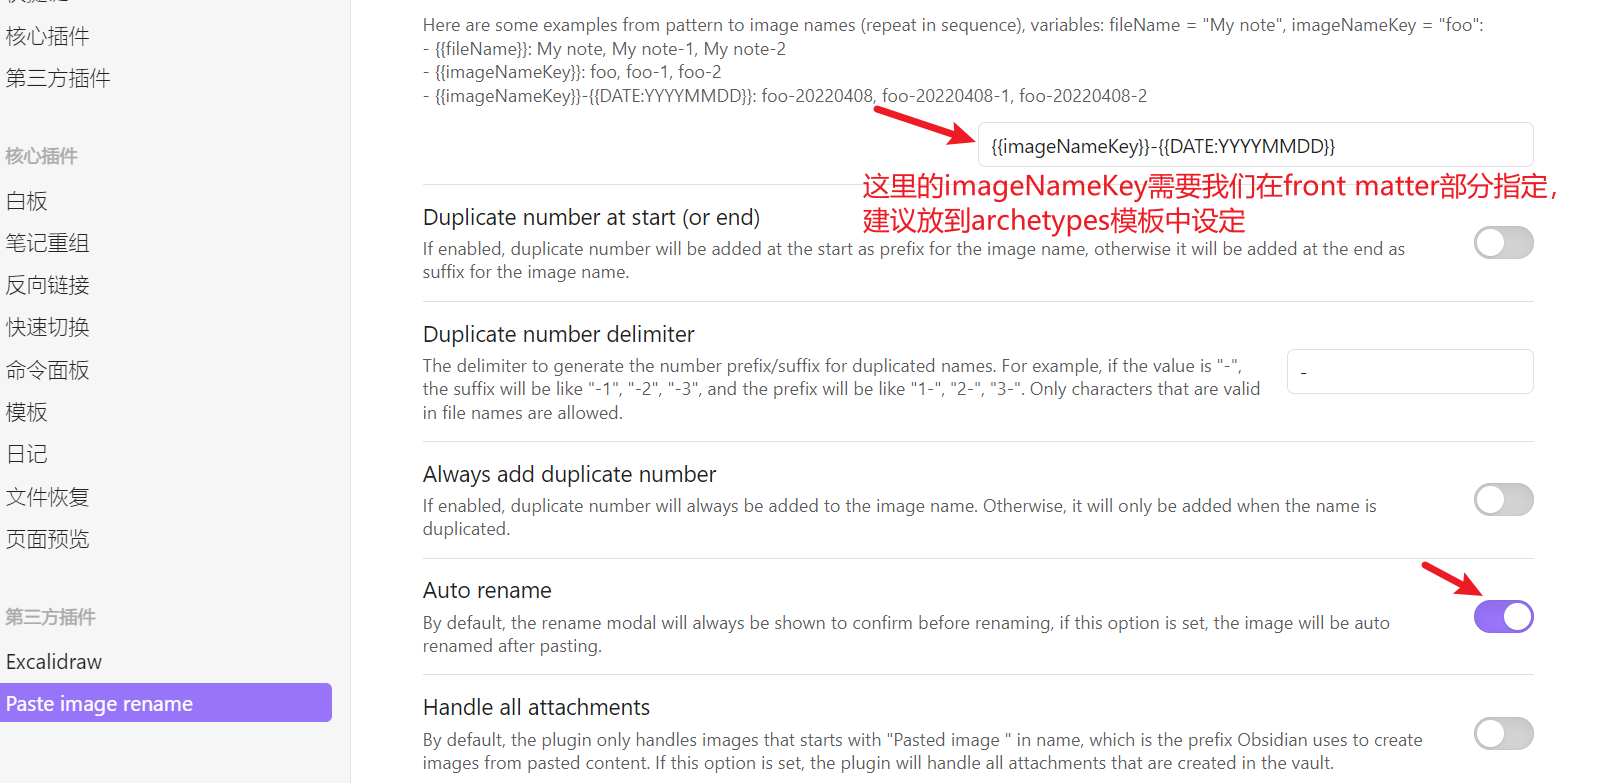
But there’s a problem: this filename contains spaces, which causes the Stack theme to fail to parse it, resulting in images not displaying. Here I recommend using an Obsidian plugin, paste image rename, which allows you to set your own pasted image file format:
Well, now we’ve built a blog space of our own, and we can happily start writing~~~